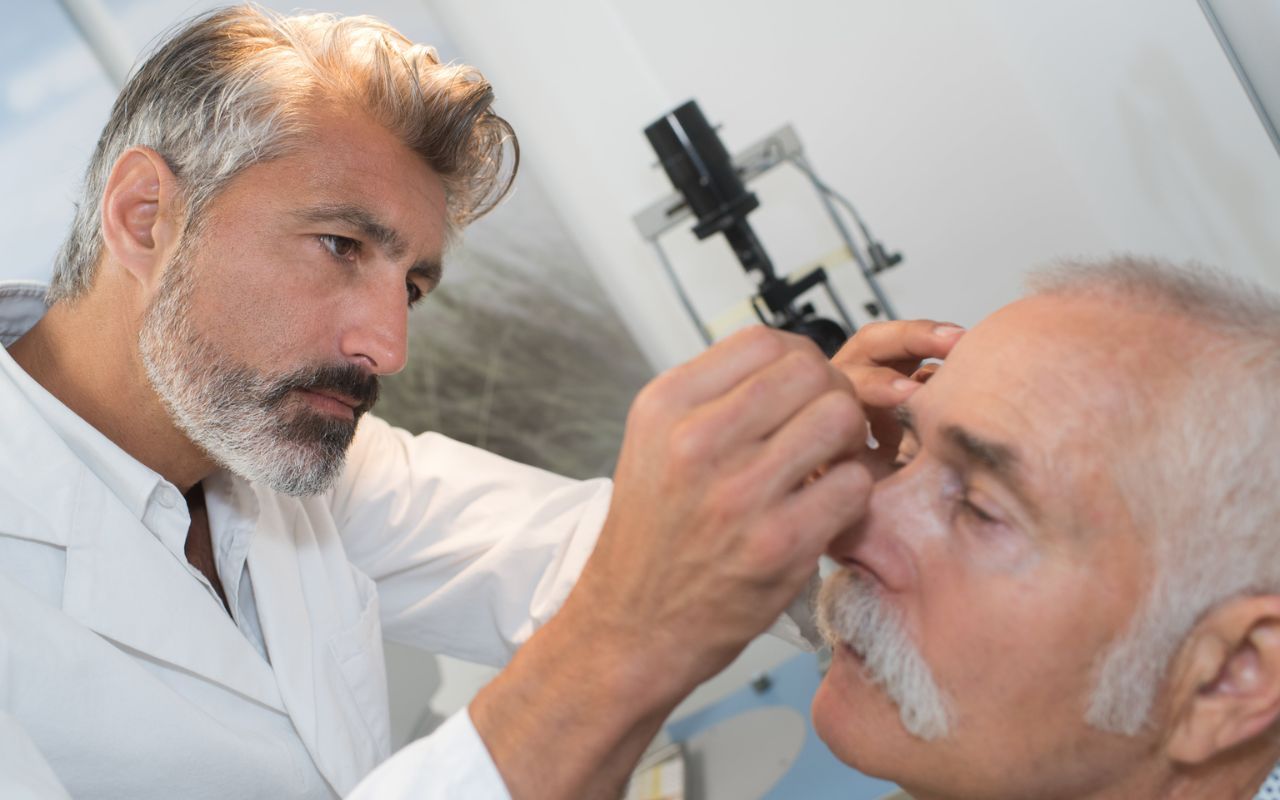
Step 1: Layer Preparation
A diluted alcohol solution is applied to the cornea to soften and dissolve its epithelial (surface) layer.
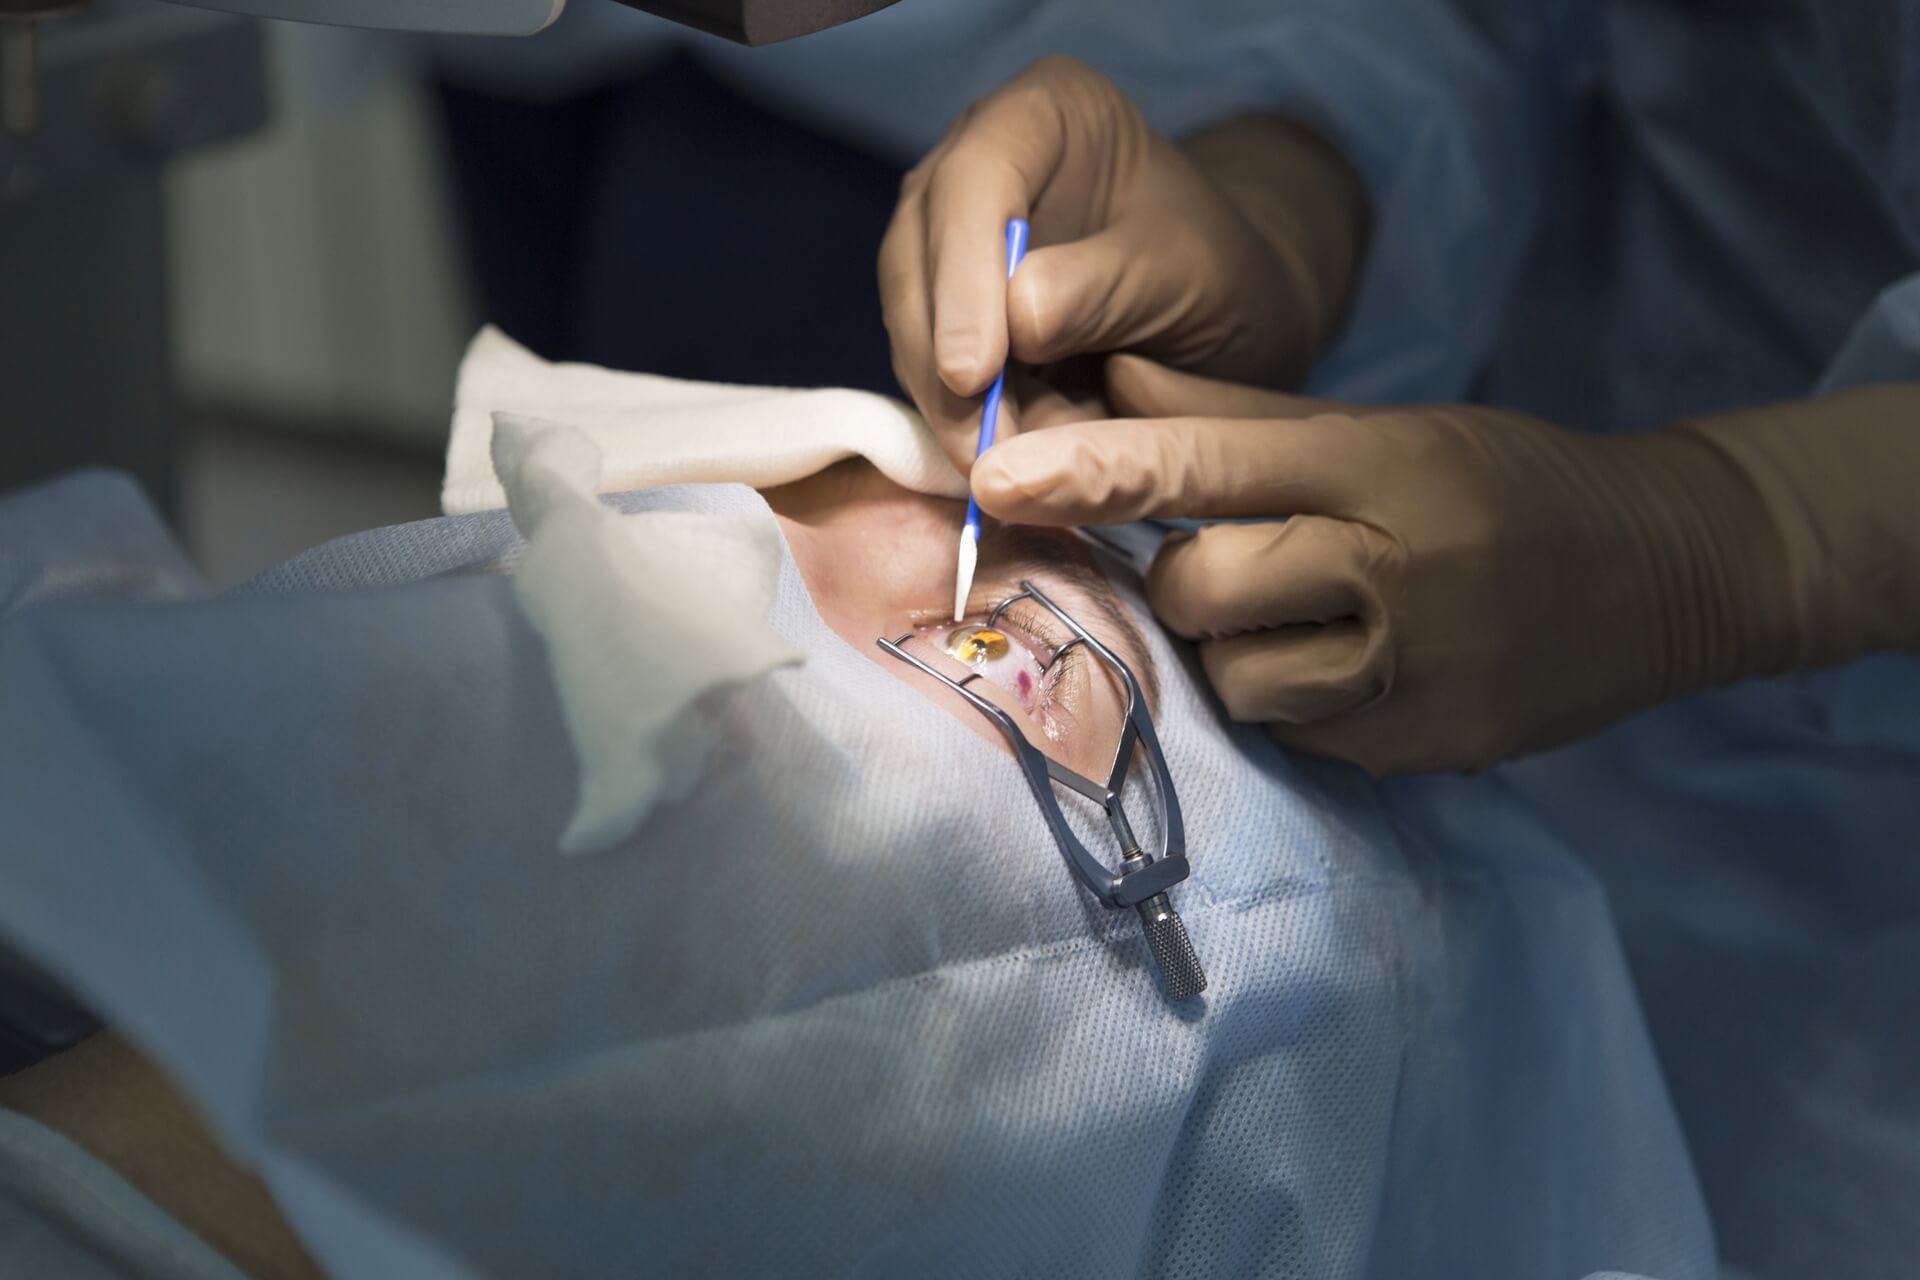
Step 2: Layer removal
The epithelial layer is then removed or moved to the side using a manual instrument. The Amoils brush is typically used because it’s specially designed to enable the effective removal of this layer in seconds.
Step 3: Focus
Once your epithelial layer has been removed, you will be asked to focus on a small blinking red light. Focus as best you can on this light.
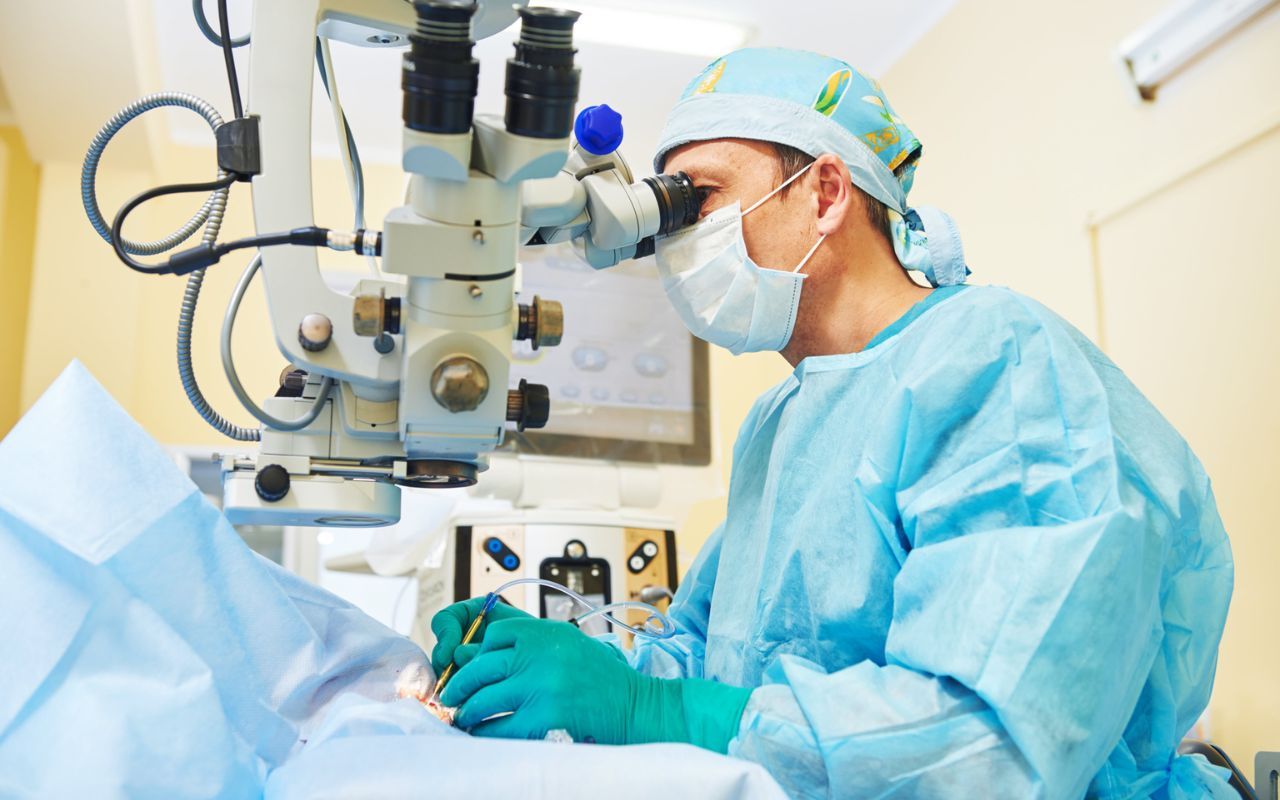
Step 4: Laser procedure
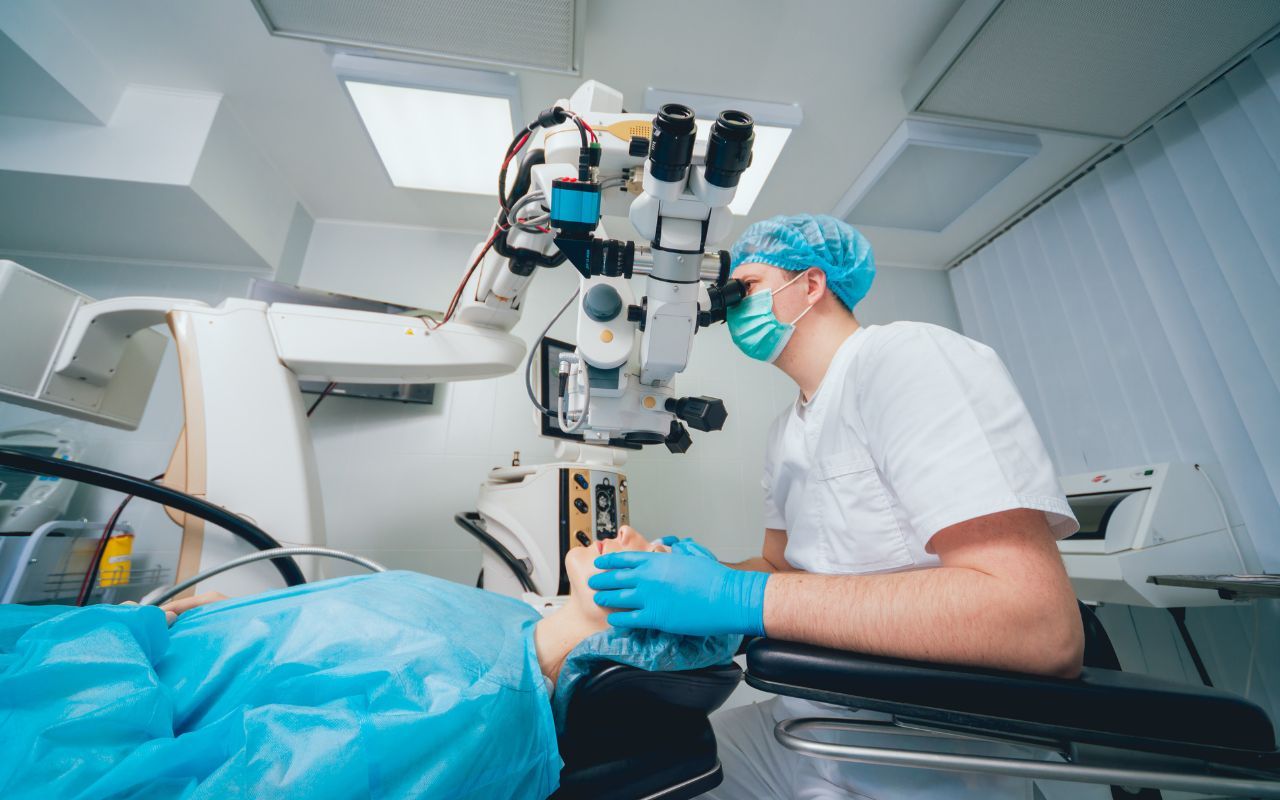
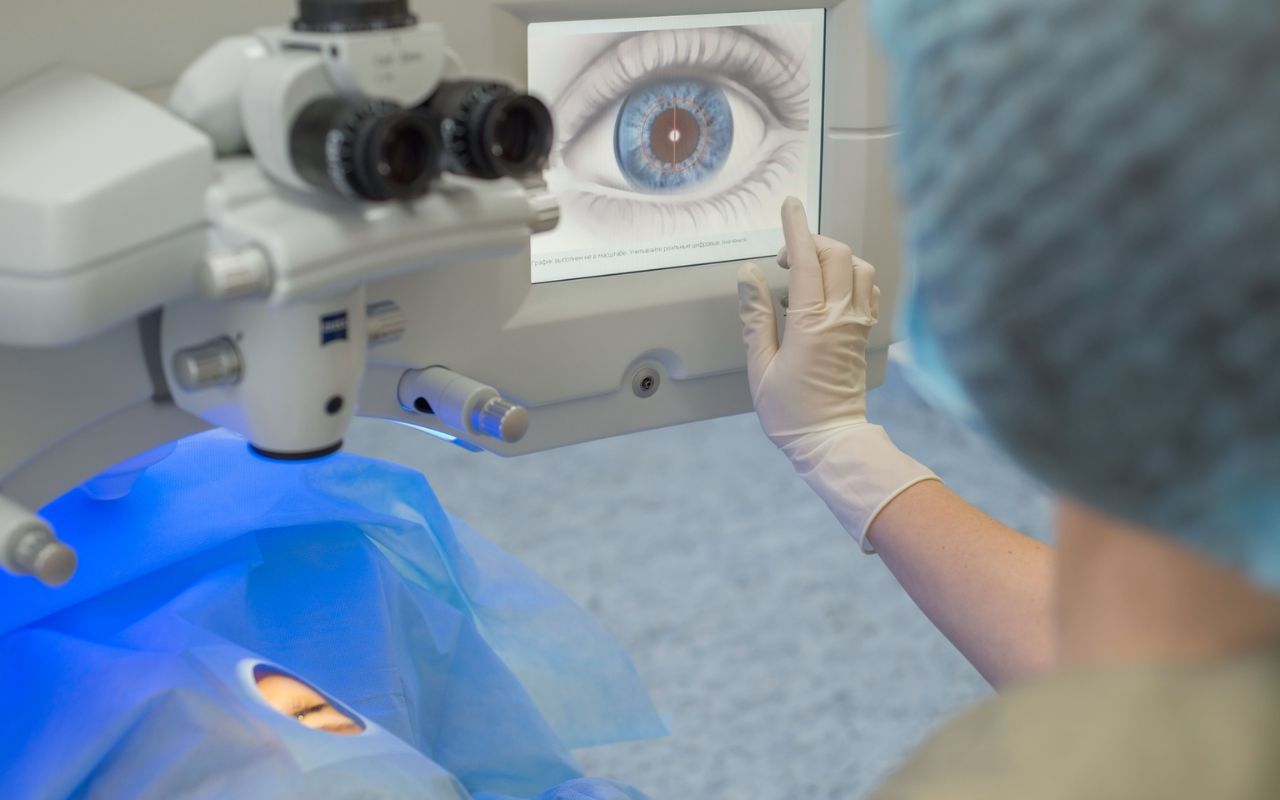
When you’re focused, your surgeon will then apply the cool excimer laser and begin the PRK procedure. A cool excimer laser is a machine that can accomplish two important things: correct refractive errors in your eyes and alter your cornea’s shape.
The laser is used to sculpt the tissue of the cornea with the purpose of correcting your vision. It accomplishes this within a matter of seconds, correcting the refractive error and improving your vision from what it was before.
Step 5: Initial Healing
Immediately following the application of the laser, your surgeon will apply a sponge with a medication called Mitomycin-C, also called MMC, onto your cornea. MMC helps with healing, and also reduces the risk of scarring on your cornea, which can increase the risk of developing hazy vision after the PRK procedure.
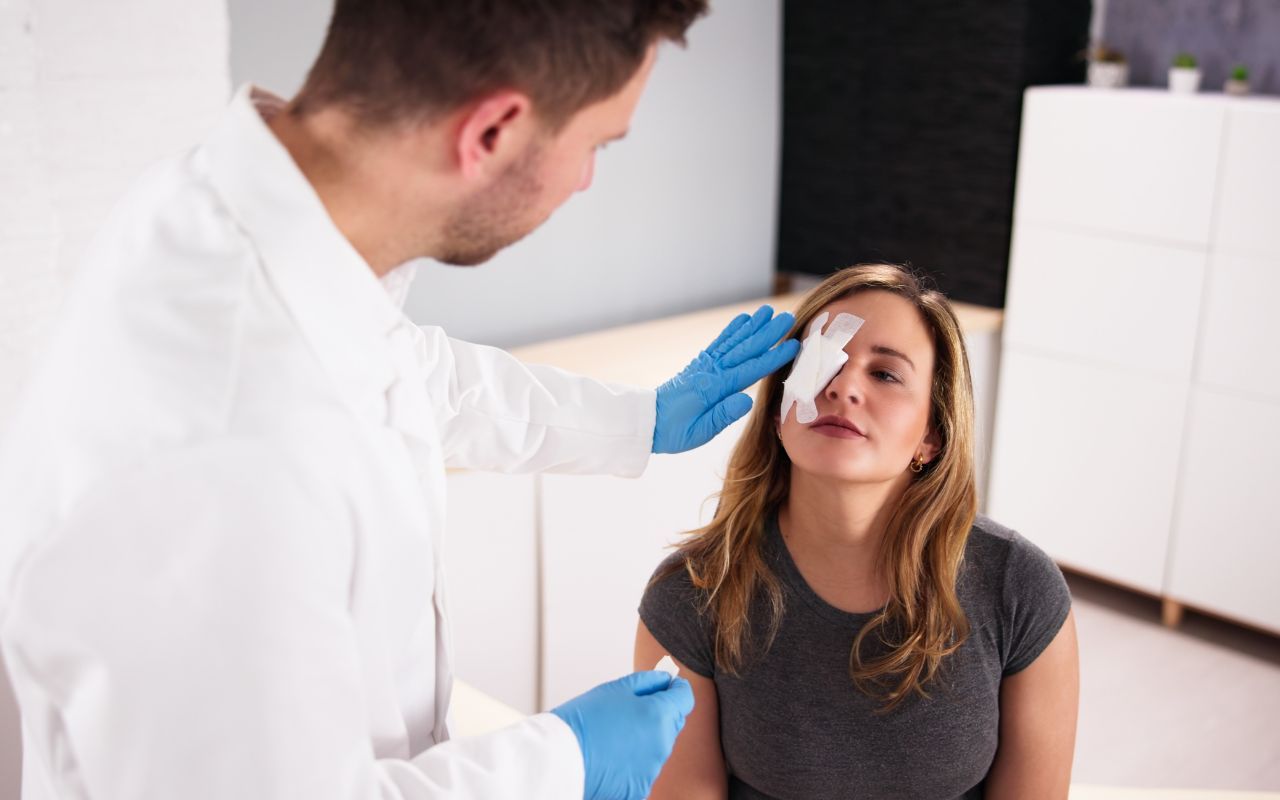
After the application of MMC, your surgeon will place a bandage contact lens on your eye. This bandage will help to minimize discomfort and assist with healing.
Step 6: Eye Protection
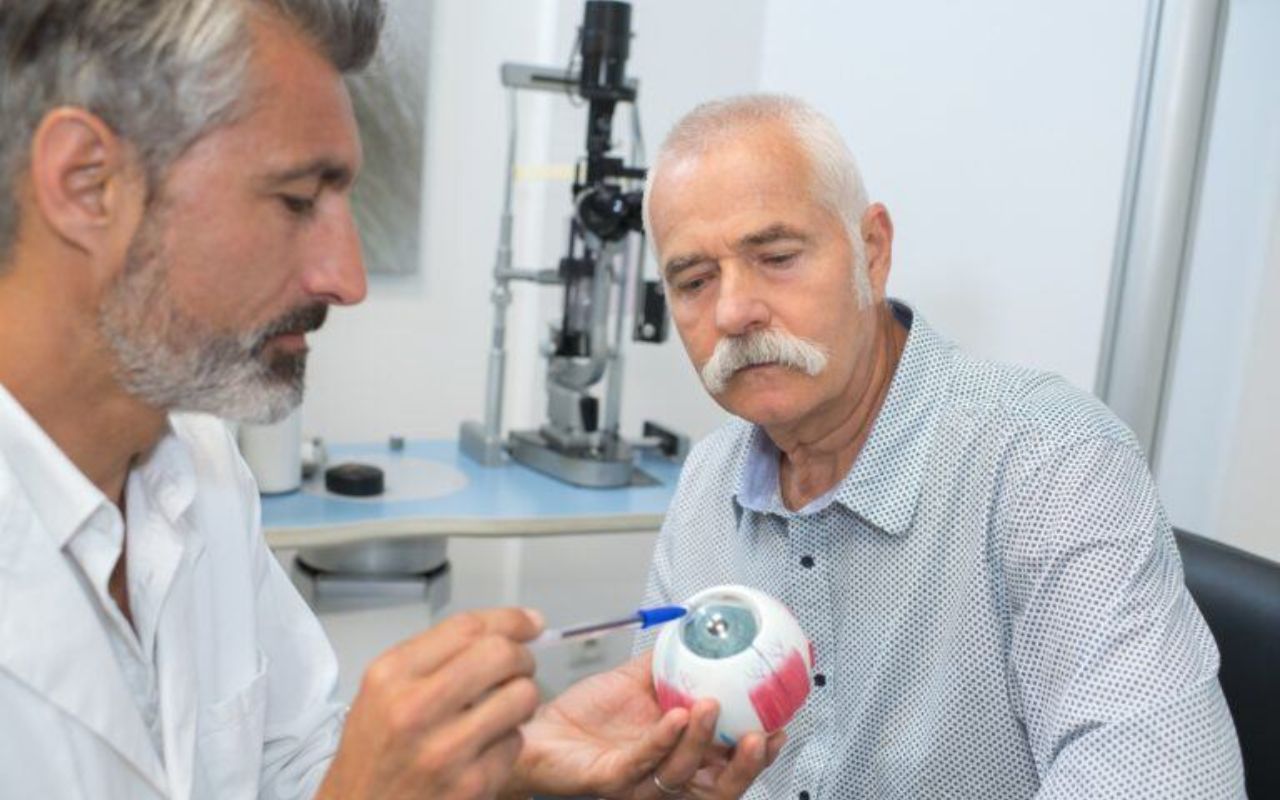
Finally, a protective bandage lens is placed over the eye until the epithelium heals within a few days. The bandage contact lens will be removed at our office about five to seven days after your PRK procedure. You can expect most if not all irritation and discomfort to disappear after bandage lens removal.

Step 7: Medication
After surgery, you’ll receive eye drops containing a steroid and antibiotic. These will prevent infection, ease swelling and assist with healing.
